Camper conversion » DIY conversion to a real camper
Published: 05.10.2021 | Reading time: 22 minutes
This text is machine translated.
Motorhomes are expensive. For many, a DIY camper conversion is what makes the dream of camping in your own motorhome possible in the first place. Because converting a vehicle yourself is not that difficult. As soon as you have found the right high-roof camper van, bus or panel van, you can get started.
The anticipation of converting it into your own camper van increases. We show you the most important steps and necessary tools that are important when converting your future camper van. Regardless of the base vehicle.
Various commercial vehicles, minibuses and panel vans are suitable as base vehicles. Microcamper, minicamper, camper bus and camper van - these are all terms that are not clearly defined. But they are very often used for individual camper conversions.
Micro campers are generally understood to be almost any car that is converted into a camper - from the smallest car to the luxury class car.
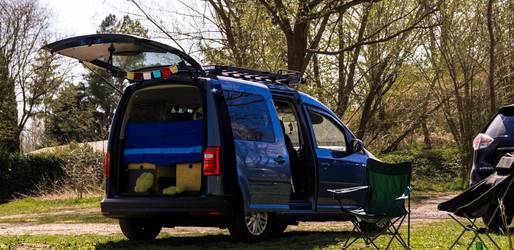
Cars such as high-roof station wagons (e.g. VW Caddy, Ford Tourneo, Citroen Berlingo or Dacia Dokker) are often referred to as mini campers.
High-roof vans are also passenger cars, but with an above-average interior height, which makes them easier to use as campers and of course offers more storage space than a micro camper.
Camper vans are one size bigger. The VW models are very popular. Whether VW T4, VW T5 or the current VW Bus - there is a real (Bulli) fan community here.
Similar models such as the Opel Zafira Life, Citroen Spacetourer, Peugeot Traveller and Toyota Proace Verso are becoming increasingly popular in this segment.
The advantage of a camper van is that it can generally be parked anywhere at "normal" height (H1), even in parking garages. The so-called family vans are usually available in three different lengths (L1-L3).
If you need even more space and want standing height that cannot be achieved with a pop-up roof, you will quickly end up with the larger panel vans in H2, such as the Fiat Ducato, VW Crafter, Mercedes Sprinter, Ford Transit, Citroen Jumper or Renault Master. These vehicles already have a fixed high roof in H2 height when purchased. After conversion from a classic van to a camper van, they are often referred to as camper vans. It is clear that the choice of a suitable basic vehicle depends on individual wishes and budget.
At the very beginning, it should be clear what is to be installed. It is therefore useful to make notes and answer various questions:
- How much storage space is needed?
- Should the bed be fixed or convertible?
- Transverse or lengthways bed?
- Should a toilet be installed?
- Should a shower be installed in the camper van?
- Cool box or fridge?
- Is a body battery required?
- How should the additional battery be charged?
- What should be used for cooking?
- Should the vehicle be insulated before removal?
- Will a heater be installed?
- Are additional windows required?
If all questions have been thought through, it is simply easier to plan. If necessary, expansion sketches can also be made. This is particularly helpful to be able to imagine what the camper should look like. The easiest way to do this is on a tablet - here you can change the sketches as often as you like and quickly share them with other interested parties if necessary. Once the planning is complete, you can get started with the camper van conversion.
Good to know: Approval as a motorhome
Whether the self-conversion can be approved as a motorhome by TÜV or Dekra depends on many different criteria. It is highly recommended that you contact the local inspector before and during the conversion and ask about the exact requirements. This is because there is room for discretion when checking whether a car meets the requirements for a motorhome registration. The most frequently cited advantages of such a registration are cheaper taxes and insurance. However, this should be checked for each individual case.
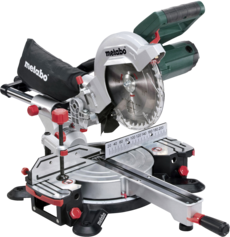
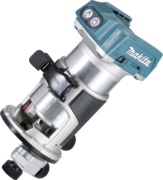
Before you start dismantling, you should make sure that you have the necessary tools. Having your own or a rented garage, hall or workshop certainly has its advantages, but is definitely not a basic requirement. Out of consideration for the neighbors, you should pay attention to the time of day when carrying out "noisy" work such as sawing or hammering - as you would otherwise.
It is not uncommon for some neighbors to show an interest and be happy to pass on their (specialist) knowledge if required.
In addition to pencils, scissors, adhesive tape, cutter knife and paintbrushes, this section describes what you will need to dismantle.
By the way: A cutter knife is always helpful, but especially when insulating or laying the floor.
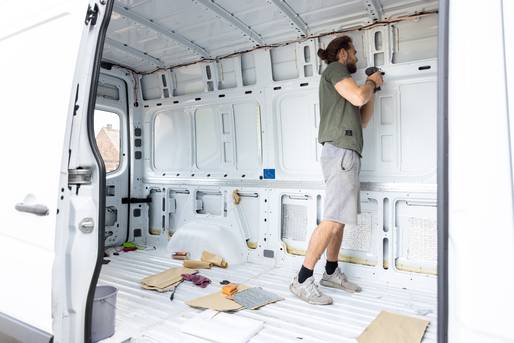
The bus or panel van has been purchased and needs to be removed. If you don't have the necessary know-how or the sequence for dismantling is not entirely clear, then this guide should help.
Removing rust - rust-free in 5 steps
Of course, this step is not necessary with a new vehicle. However, many prospective campers opt for older, used vehicles as they are cheaper to buy. If the van has been around for a few years, there is usually some rust here and there.
As not all rust spots are immediately visible, the side paneling and floor panel should be removed. The latter not only conceals rust, but often also a lot of dirt.
When removing rust, it is important to use the right amount of materials in the right order.
Once the floor has been swept, you can remove dirt and grime from it and the walls with a cloth or sponge and plenty of water. It is now easier to distinguish between rust and stubborn dirt.
2) Sanding and degreasing
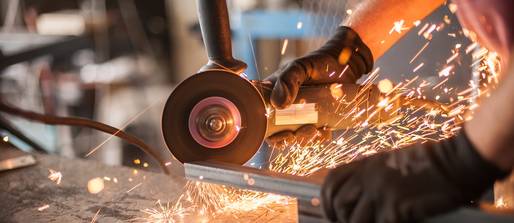
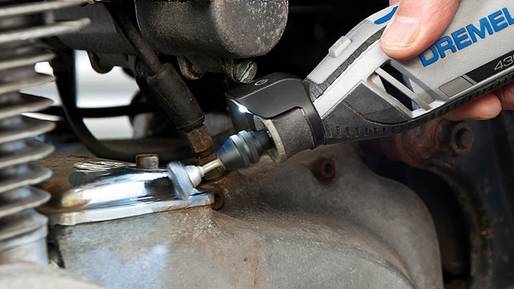
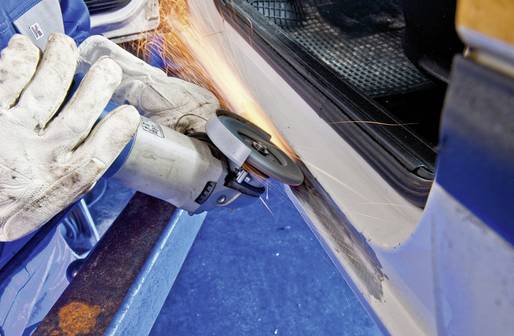
Once the dust has been removed from the rust spots, they can be removed piece by piece with an angle grinder and the appropriate attachment (SVS disk) without much effort. In the end, bare metal and porous rust will remain. Hard-to-reach areas must be treated with a wire brush or sandpaper.
Beware of metal splinters whirling through the air - please wear safety goggles and gloves!
Once all rust spots have been sanded down, grease residue must be removed. This is important so that the protective layer that the rust converter forms on porous rust adheres to the metal and no new rust can form underneath.
3) Apply rust converter or rust primer
As already described, either bare metal or areas with porous rust can be seen after rust removal. Rust converter must be applied to porous rust and should generally be left to work for 6-8 hours.
If the treated areas have turned black, then the rust conversion was successful and can then be treated with rust protection primer. Where bare metal is visible, rust protection primer can be applied immediately. If necessary, it is advisable to repeat these steps.
4) Painting
If the areas where rust has been removed are still visible after removal, the desired paint can be applied to these areas. The rust protection primer is sufficient for areas that are not visible.
5) Corrosion protection for underbody and cavity
To protect the future camper from rust both inside and out, the underbody and the cavities in the car should be sealed.
Spray or wax are suitable as underbody protection. Anti-corrosion spray forms an adaptable protective coating with high abrasion resistance and often a good anti-drumming effect. In contrast, the use of underbody wax offers a low-mist finish. The waxes it contains preserve the treated surfaces by forming a closed protective film.
Corrosion protection agent for cavities prevents rust by infiltrating and displacing moisture. Thanks to its high creep and heat resistance, it also ensures the desired effect in hard-to-reach areas.
Installing windows and skylights
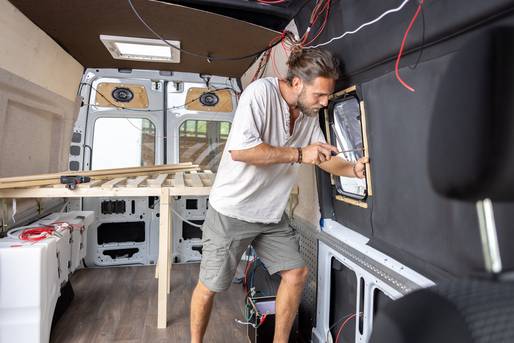
At this point at the latest, some DIY camper van fitters have a queasy feeling. After all, it is necessary to saw a hole in the metal wall of the van for installation. If no windows have been installed at the factory, the installation location can be chosen relatively freely. Of course, no bars or supports should be removed, as these serve to stabilize the vehicle. It is advisable to install the windows in such a way that sufficient light enters the camper and a good draught is possible.
A basic distinction is made between sliding windows and hinged windows for side walls. The latter can also be opened when it rains. There are also roof hatches and roof vents. These are particularly popular for the wet room and above the bed and seating area. The rapid exchange of air ensures that no moisture remains in the van.
8 steps to a camper conversion with window
We recommend wearing gloves and safety goggles for the following work!
1) First, the window cut-out must be marked out very precisely. Any non-washable pen or marker, which are available in different thicknesses and colors, is suitable for this.
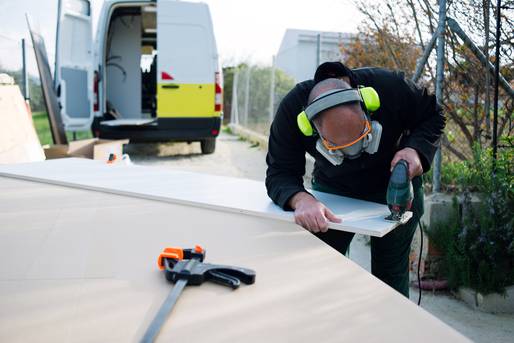
2) Then use a metal drill to drill four holes in the respective corners. This is necessary so that the jigsaw can be positioned there.
3) After drilling, the cut edges are taped from the outside with adhesive tape. This is to prevent the jigsaw from scratching the metal.
4) Now place the jigsaw with metal saw blade on one of the drill holes from the outside. Saw along the previously drawn lines. After removing the adhesive tape, we recommend carefully smoothing the cut edges with a file.
5) The next step is to build a wooden inner frame. This is necessary to achieve the required installation depth (approx. 30 millimeters). This frame is attached to the window cut-out from the inside with assembly adhesive and fixed in place with screw clamps until everything is dry.
6) Applying rust protection paint to the open metal should prevent rust spots in the camper conversion.
7) If you want to be on the safe side, seal the installed inner frame with sealing compound. The easiest way to do this is with a caulking gun.
8) The window is now fitted from the outside and screwed in place. L angle pieces are usually included with the windows. This presses the window against the camper. Finally, the plastic frame of the window is fitted on the inside.
Insulation - Preparations for the camper interior fittings
It is important to insulate the van (side walls, ceiling and floor) well so that there are no nasty surprises after the van life has been extended. Whether it's a bus or a van, you want to keep the heat in in winter and the heat out in summer.
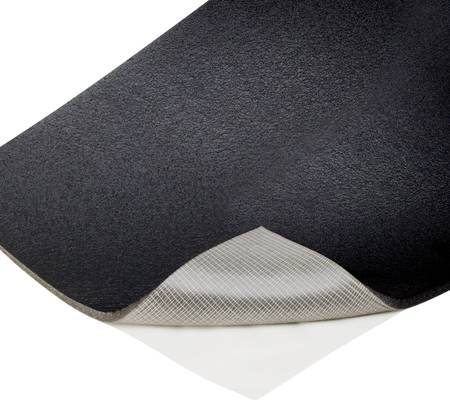
As a lot of moisture is generated in a mobile home (breathing, cooking, showering), you should choose an insulation material that does not absorb moisture. It should also be flame-retardant and have low thermal conductivity. Rubber mats are usually used for self-finishing. These materials, which are often self-adhesive, are flexible and can therefore also be easily attached to "round" body shapes.
Incidentally, sound insulation should be carried out before thermal insulation. To do this, mats are glued to the panels to prevent them from vibrating. For sound insulation, however, it is sufficient to cover an area of approx. 20 %.
Base plate
The floor panel should be made of material that does not mind moisture and humidity. This is because once the camper has been completely removed, it is difficult to repair any damage. If the old floor panel is not to be reused, the use of robust screen printing plates is recommended (despite the high weight).
To ensure that the insulation laid on the floor retains its insulating properties, it must not be pressed in by the floor panel. For this reason, a subfloor construction made of wooden slats adapted to your van is required first, which should be slightly higher than the insulation itself.
This construction is glued to the floor. The gaps on the floor are then insulated. The floor panel is then fixed to the substructure with screws. Later, a floor covering of your choice can be laid on top.
Electricity and water in the camper - laying cables
The next step in the DIY motorhome project requires careful consideration. If the cables for the electronics are to disappear behind or under the wall or ceiling cladding, then the routing of the electrics must be planned precisely in advance.
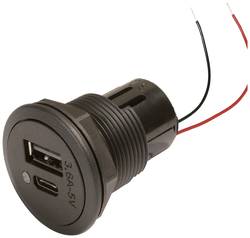
It should be clear how many light sources are to be located where. Other consumers include the water pump, cool box or fridge, coffee machine, camera and anything else needed for personal comfort. The location of sockets and USB charging points should also be planned.
Why a second battery is an advantage
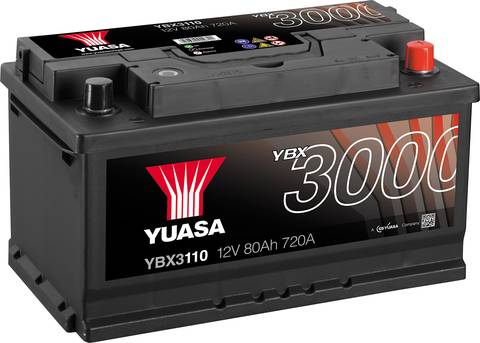
A second battery in the camper is highly recommended as it prevents the starter battery from being completely discharged by various consumers and the car always remains ready to drive off. It should be independent of the car battery and have sufficient capacity to charge all electronic devices. The second battery itself is charged while driving, e.g. via a charging booster or a solar system on the roof.
But be careful, installing the electrics yourself in a camper van conversion is not for beginners and can be dangerous. Certain regulations must be observed. If you are unsure, it is better to have these tasks carried out by a trained specialist.
Other expansion components for the water supply and heating must also be taken into account. A diesel heater cannot be located just anywhere in the camper. Careful planning for the location of the pipes is also essential here.
Wall cladding
There are various options for wall cladding in camper van conversions. Felt, fabric or wood are popular. The pattern, color and material can be selected and processed according to your own project requirements. If the felt is not self-adhesive, it can be attached using spray adhesive.
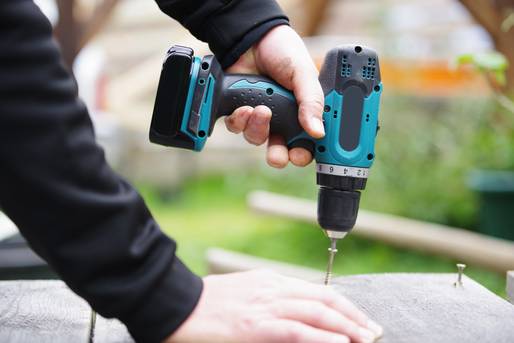
For wood, it is advisable to first build a base frame to which the boards are then screwed. The base frame can be attached to the vehicle uprights, for example, using self-tapping screws or special adhesive. If wall cabinets are to be installed, it is also advisable to use rivet nuts.
Pay attention to the weight of the materials
Tongue and groove wood is popular, as its design allows it to adapt well to the slight "curves" of buses and vans. One major disadvantage is the weight. If weight is particularly important because a lot of payload is still needed after the conversion, then plywood cladding is more suitable. This is significantly lighter. When fitting out the interior, attention should always be paid to the weight of the materials so that the permissible total weight of the van or camper van conversion is not exceeded.
Possible recesses for lamps must also be considered. The necessary cables have already been laid.
Incidentally, it is possible to "countersink" screws well into the wood using a countersink bit to create a nice smooth surface. It should also be clarified with the TÜV on site whether profiled wood (with tongue and groove) may be used. In some places it is probably rejected because of the risk of splintering.
Laying the floor
The next step is to lay the floor that suits your preferences. PVC flooring is often used in DIY projects. This is relatively inexpensive, does not weigh much and is easy to clean. It is important to adapt the floor to the vehicle dimensions or the floor panel using a good cutter knife and then glue it down. If you use double-sided adhesive tape for this, the floor can also be replaced more easily later.
Furniture construction
It took a long time to install the floor and side walls: now the camper van conversion with seating area, bed and cupboards can make great progress again. Whether it's a bus or a van - it's only with cupboards and the like that the self-build becomes a small, mobile home.
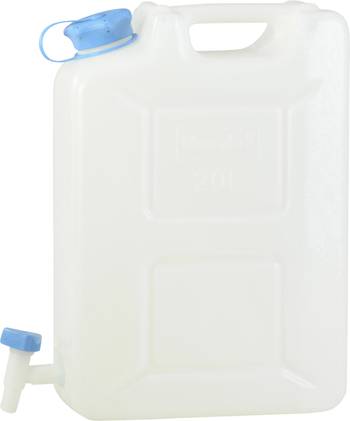
It is important to draw up a good plan of where things should stand or hang. To do this, you can mark the outline of the furniture on the floor with adhesive tape. It is also important to take into account the dimensions of objects that will later be placed "inside" the furniture. This could be the cool box, the wash bowl or even just the canister for fresh water or waste water (gray water).
This precise planning can save a lot of money, as any special dimensions are expensive.
From the substructure to the wardrobe
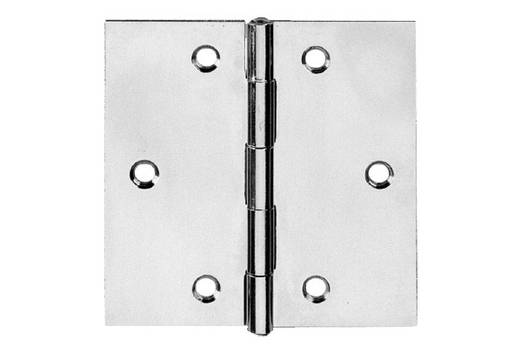
The substructure or base frame should be built first. Cabinet doors and drawers are then "built in" by cladding the frame with wood. Lightweight doors are attached using hinges, for example.
Birch plywood and poplar plywood are often used for this. Both are available in different thicknesses. Birch plywood is comparatively stable and not too heavy. It is ideal for building furniture side panels, partition walls or a platform. Poplar plywood, on the other hand, is very light but also quite fragile. It is ideal for cupboard doors and drawers. Also for shelves if they are not subjected to too much stress. In addition to cupboards and room dividers, a comfortable bed and a table are also important.
For the bed and table: How big? Fixed or variable? You should also make sure that the sleeping area is well ventilated from below (the mattress does not rest on a bare wooden board) to prevent waterlogging.
Water supply for the motorhome extension
As already described, the water pipes and the tank should be planned and routed precisely from the outset of the van conversion. Nothing is more annoying than a hose that comes out from behind a cupboard and is too short. Once all the hoses are where they belong, the fresh water and waste water tanks can be connected once they have been installed in the desired location.
If you don't want to install a shower inside the car or can't do so for space reasons, you can also purchase a solar shower. This is basically a black water bag that is heated by lying in the sun. If you hang it up or place it on the roof, the water flows by gravity to the shower head.
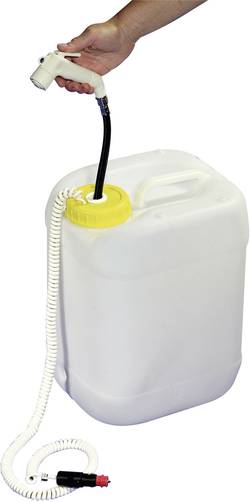
Another option is a canister shower. A submersible pump powered by 12-volt electricity hangs in a mobile canister and transports the water to the hand shower. A camper van conversion in particular often does not offer sufficient headroom for an indoor shower. Mobile camping showers are a good alternative.
A large panel van, on the other hand, usually offers enough space for a camper van conversion with a small bathroom, shower, washbasin and toilet. A washbasin where the tap can be pulled out as a shower head for showering saves the installation of an additional shower fitting. It is important to ensure that the drain pipes are laid with a sufficient gradient. If necessary, the shower tray must be placed on a small platform.
A sink in the "kitchenette" can be connected to the permanently installed on-board water system. However, it is also possible to draw the water from a canister using a submersible pump. Please note: The waste water must also be collected in a canister and disposed of properly later.
Cooking and cooling in the DIY camper conversion
In addition to cupboards and a sink including all pipes, the kitchen block also needs cooking facilities. Particularly in buses with little space, creativity is required when fitting out.
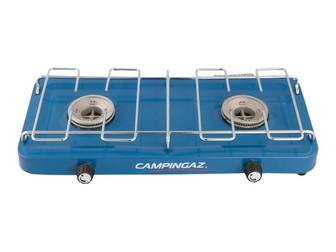
Again, a distinction is made between a fixed installation and a mobile solution. The cheapest and simplest option is a gas cartridge stove. Electric hotplates are also becoming increasingly popular, as they are very safe and convenient. However, they usually only work with an external power supply.
To keep drinks cool and food fresh, they need to be well chilled. Mobile cool boxes or permanently installed refrigerators are used in large camper vans. The latter weigh more and cost more. They are available as compressor and absorber units. Compressor fridges cool better and more consistently (are not dependent on the outside temperature), even on a slight incline. Absorber fridges are quieter and can be operated with electricity or gas.
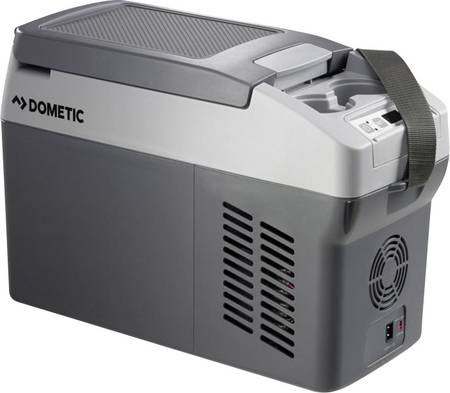
If the van is more of a compact size like a VW van, then cool boxes with compressors are the first choice. They are available in various sizes, depending on your own (space) requirements. The cooling capacity is very good and constant even at high outside temperatures. However, they are not cheap to buy. Our guide to cool boxes reveals why it's still worth it.
Installing the parking heater
Nobody wants to be cold when camping. Depending on the outside temperature and location, it can be quite uncomfortable in the camper. If it is cold inside the vehicle and perhaps even damp, no good blanket or sleeping bag will help. Then only a heater or (if a power connection is available) a fan heater will help.
A distinction is generally made between a water heater and an air heater. Air heaters are mainly used for camping, as there is no forced switch-off. They are also more economical, heat up faster and have regulated fans. Air parking heaters are available for conversion from various well-known manufacturers, but there are now also "no name products" from the Far East.
No matter what type of heating system is installed, it requires fuel. This is pumped into the combustion chamber of the heater using an electric pump. To do this, a hole must be cut in the underbody of a diesel parking heater. The vehicle tank must be drained in order to install the fuel tank extractor and the heater's fuel pump. The outlet openings for air heaters are then routed freely. Care must be taken to ensure that they can flow out freely and are as close to the floor as possible. This is the only way to achieve good circulation. If the hot air pipes bypass the water tanks, the risk of them freezing can be minimized.
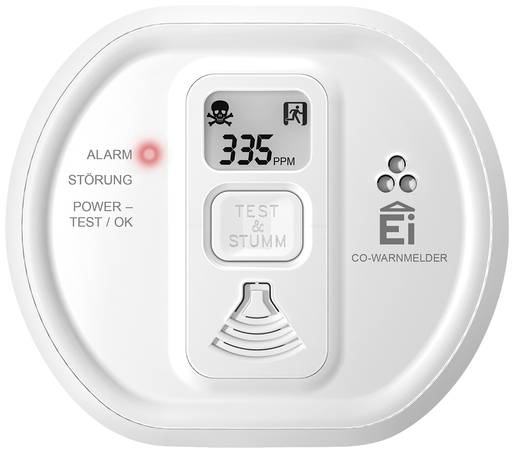
If the exhaust pipe is installed, it is essential to ensure that no exhaust gases can enter the interior. The end of the pipe should therefore be turned away from the side entrance or any awning (opposite side) and allow the air to flow far away. A carbon monoxide detector inside the vehicle is also recommended for safety reasons.
Tip
If the heater is also to be operated during longer periods of non-use while camping, an additional battery is highly recommended. Only an external power connection or a second battery (additional battery) can ensure that the starter battery is not discharged by various consumers - above all the heater - and the car can no longer be started.
It can take weeks or even months from the purchase to the planning stage to the finished home improvement. It often takes longer than planned and costs a little more here and there than calculated. This is normal, after all, no master craftsman has ever fallen from the sky. In the end, self-builders are usually very proud of their mobile home, and rightly so. And they know that if they don't like something, they can always rebuild and improve it later.
Of course, the anticipation is already building up during the conversion, but once the van conversion is finished, it's almost unbearable.
Because now comes the best part of the camper van conversion: traveling. It doesn't matter whether it's an older VW T5 bus or a modern, large panel van, for example. The journey is the destination.
