Photography in winter » Capturing winter moments
Published: 19.11.2021 | Reading time: 14 minutes
Winter is here!
Even though it can be really uncomfortable in the cold winter with snowstorms, ice, thaws and darkness, there are also many beautiful moments.
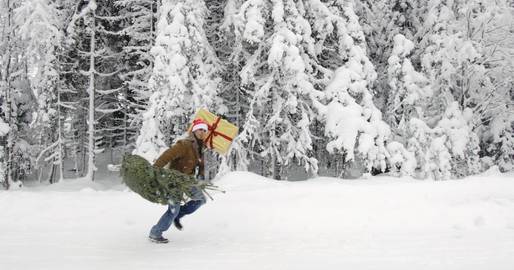
For example, when the first snow falls and crunches under your shoes on a walk. Leaving the first footprints on the freshly snow-covered surface. Making snow angels, going tobogganing or walking through the beautiful snowy landscape with family and friends in the sunshine. People of all ages enjoy it.
Hobby photographers find countless motifs during this time. Whether color or black and white, landscape or detail shots, winter has a lot to offer.
The red hydrant as a color contrast (splash of color) in the gray city, macro photos of delicate ice flowers or untouched snowy landscapes.
This guide provides valuable tips to ensure that your souvenir photos of these wonderful hours in the snow are not ruined by gray pictures.
To make photography in winter really fun, you need to be well prepared. Nobody can enjoy beautiful winter motifs for long if they are freezing. Nature photographers in particular stand around a lot.
Suitable clothing and hand warmers
The right winter clothing - such as a warm jacket and warm shoes - is very important. They should protect you from getting cold and should be complemented by a warm hat and gloves. A good thermos flask is also recommended.
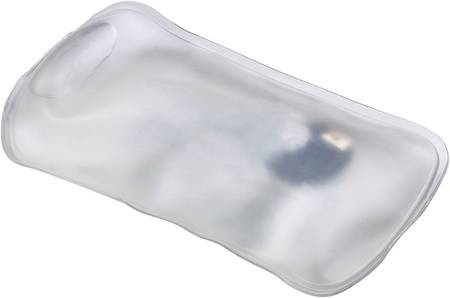
There are hand warmers to keep your hands warm in your jacket pockets. Simply press the metal plate inside. The plastic cushion is already warm. The filling material of the hand warmer is completely non-toxic and environmentally friendly. There are also body warmers and sole warmers. These are usually airtight cushions. They activate automatically as soon as they are exposed to air. They can release heat for many hours.
Protect the technology
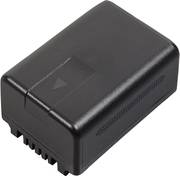
Batteries are not as powerful in cold temperatures. They drain faster. The fact that they consume more power in the camera when it is cold cannot be prevented.
However, this is not a major problem. Our tip: Simply take 2 or more batteries with you and keep them warm on your body before use. For example, in your trouser pockets or inside jacket pockets.
Cameras are not as sensitive as is often assumed. Nevertheless, care should be taken to ensure that no condensation gets into the camera. This means that if snow falls into the rucksack or onto the photographic equipment (camera, lens), it is important to remove it. At the latest as soon as it gets warm again. Because snow equals water.
In addition, the cold camera should not be immediately removed from the photo backpack or camera bag in a warm interior (even in a heated car). It is better to let it warm up slowly in the rucksack. This will prevent condensation from forming.
Changing lenses in winter weather
When should lenses be changed as little as possible? When it is very cold (sub-zero temperatures), snowing or raining. It is even better not to change lenses at all than to change them rarely. This is because moisture can get into the camera every time the lens is changed.
If you do need to change the lens, make sure that the camera and lens are at approximately the same temperature. This minimizes the formation of condensation. In addition, the replacement should take place as “protected” as possible. For example, in an open bagpack.
Using a tripod in winter
If you are using a tripod to photograph the beautiful winter landscape, it should have foam on the legs. Pure metal is cold (and sticks).
If the tripod legs are not covered with foam, you can easily do this yourself.
For snapshots in automatic mode: If there is a “Snow mode” among the “Scene modes”, then this should be used. The often available “Beach mode” should also work. Because sandy beaches are usually bright too. Just give it a try.
Why are the pictures otherwise too dark? In normal automatic mode, the camera always tries to find “medium gray in the picture”. If there is a lot of light snow and little sky in the selected subject, then it “sets” it to a medium gray and the pictures don't look nice and white afterwards. The camera cannot know that it has to look so bright.
It is even better not to work in automatic mode and to set the exposure yourself. More on this in the following section.
The “full” automatic exposure of cameras always tries to create a “medium brightness” in photos. Neither bright nor dark areas should dominate any part of the image. In most situations, this works surprisingly well these days.
The automatic exposure
A landscape with lots of snow, on the other hand, is anything but dark in the so-called “dark season”. When it has snowed, the overall lighting situation is very bright. In a photo with mostly snow, the camera tries to compensate for this.
If you work without exposure compensation, the image is often too dark. However, if you use exposure compensation to add around one to two f-stops (+0.7 for cloudy skies and +2 for sunny skies), the photos will be beautifully white and bright. The result is not a dull gray.
If, on the other hand, you want to deliberately create a gloomy mood, overexposure is of course not necessary.
Larger cameras have their own exposure compensation dial. If this is not available, the exposure must be set in the camera menu.
If one of the semi-automatic modes is used (e.g. P, A, S on Sony cameras), another way of achieving correct exposure is as follows: The exposure metering is fixed to “spot metering”. This “spot” is then aimed at a darkly dressed person or a dark object, for example. This ensures that the person or object in the snow is correctly exposed and the snow itself is not darkened.
Better photos with gray gradient filters
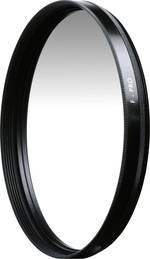
Graduated filters are usually used to darken a bright sky. This results in a homogeneous overall image in which the foreground does not appear too dark. If there is a lot of snow, this is often reversed: the snow is too bright in relation to the sky and has to be darkened.
Here's our tip: If a gray gradient filter is used “upside down”, the bright snow can be darkened and thus retain its structure. A great deal of sensitivity is required. If the filter is darkened too much, the snow will quickly turn gray.
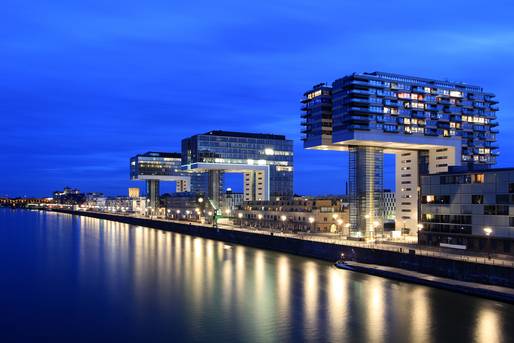
On some winter mornings, the light mood can be characterized by pastel shades of pink and blue. At other times, the day is cold and blue. Towards the cold night, strong contrasts sometimes dominate. Diverse motifs wherever the eye looks.
Winter morning - pink and blue
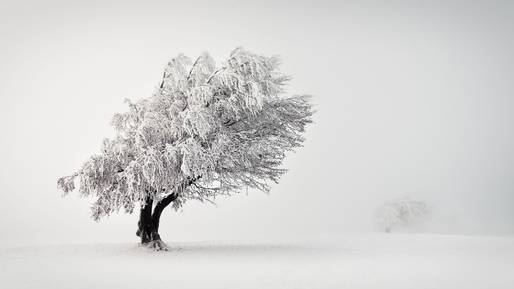
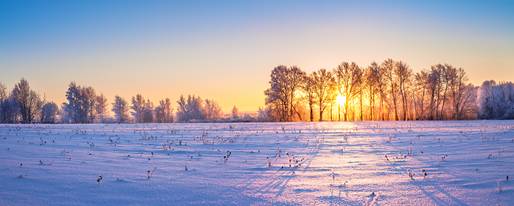
The most beautiful motifs can be found in the early morning. Especially around sunrise. When all the unattractive things disappear under the winter landscape - covered in white snow - the landscape radiates a special peace and tranquillity.
Before sunrise, the blue light of the blue hour predominates. If the winter fog is moderate, the dreamlike sunrise atmosphere lasts particularly long.
Where the sun appears, pink tones can be seen. In the shadow areas, blue light continues to dominate. This interplay of colors almost automatically produces more fascinating and beautiful photos than with a blue sky.
The advantage over sunrises in summer? As the sun rises later in the day, people taking photos can sleep much longer.
Mornings - Cold and blue
If the fog is very thick, the morning sun often doesn't stand a chance. It rarely manages to penetrate it.
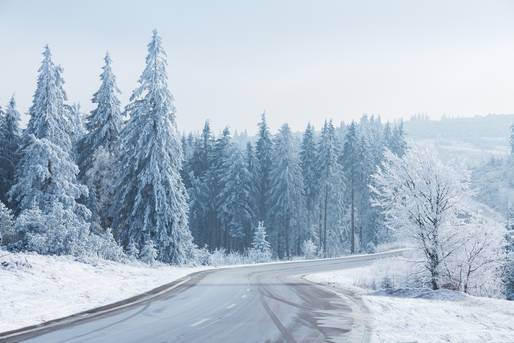
The resulting often monochrome blue surroundings also reinforce the impression of freezing cold in the photos.
It is easy to imagine the photographer's cold hands.
Heavy fog creates soft transitions between different areas of the landscape. Frozen water at the edge of a lake merges gently into the snow on the shore.
If the opposite shore is obscured by the fog, this conveys infinite expanse and stillness.
Hard contrasts - strong colors
Backlit shots result in strikingly sharper contrasts. This is in contrast to shots where the light was behind the photographer. Contrasts are particularly strong when the air is very cold and clear. At midday, when the sun is high, the contrasts are harsher than at the beginning and end of the day. On the other hand, the colors are less intense at midday than in the morning or evening.
In the dark, street lamps also create harsh contrasts. Especially at temperatures around freezing point (so-called “bad weather”) when there is a thaw on the streets, they are pitch black. Remnants of white snow can create exciting black and white shots.
The white balance should also be taken into account for special lighting moods. If this is set to automatic and does not deliver the desired results, it should be set to manual white balance. Then it's time to try it out. Almost all cameras today offer a live preview. This makes it easy to judge whether you like the result.
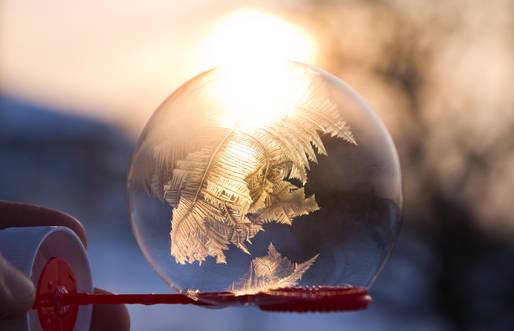
Photographing details is exciting in almost any weather. Especially in winter, it is worth taking a look at individual elements. This could be the reeds at the edge of the lake, a frozen village pond with cracks in the ice, a frozen soap bubble, a frost flower or air bubbles trapped in an icicle. Everything on its own (or in combination) has its own special charm.
Water in all its forms
Only in winter is it possible to photograph water in all its different states of aggregation. Liquid as water, solid as ice formations, snow or hoar frost and gaseous as mist or water vapor.
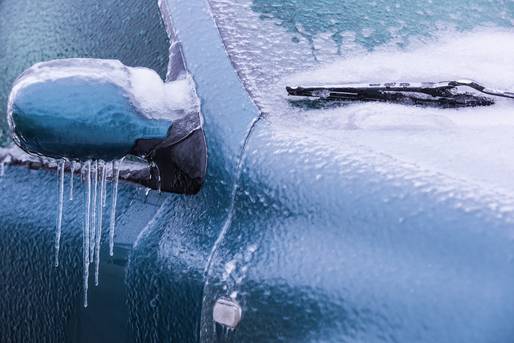
Ice formations are exciting: Almost everyone is familiar with icicles, but ice can form countless other attractive formations. Frozen stones, for example, can be observed on riverbanks. Plant stalks protruding from the water's edge often bear wafer-thin “ice hats”.
Ice flowers on window panes or air bubbles in pieces of ice. If you look at your surroundings with open eyes, you will discover many exciting things.
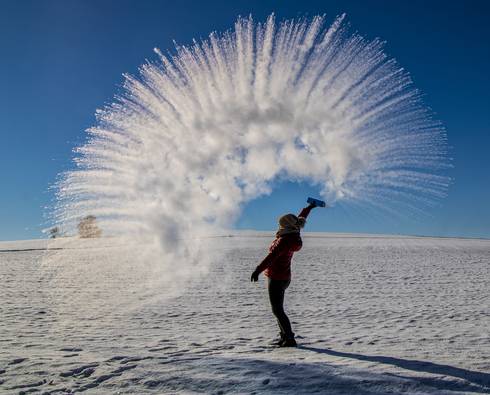
The Mpemba effect - freezing water in the air
The effect (with the difficult-to-pronounce name) creates breathtaking photo motifs. Inside, boiling water is poured into a thermos mug or flask.
Outside, when it's at least -20 degrees Celsius, it's time to take the lid off and hurl the contents into the air in a high arc. The hot water freezes immediately and a cloud of hailstones forms.
It looks like snow in the air. What is fascinating is that this effect does not occur with cold water.
Physicists have still not fully explained this phenomenon. If you search the Internet for the Mpemba effect, you will find a number of suggested explanations.
It would go too far to go into detail here.
Photographing falling snow and snowflakes
Es schneit
Falling snow is a particular challenge in photography. First of all: Don't wait until the precipitation stops, but go out with your camera and take pictures. An umbrella helps if you are worried about your equipment. Ideally, the umbrella should be white or transparent, otherwise it can lead to unsightly color casts. In snowfall, it is worth playing with the exposure time. Snowflakes can be optically frozen with short exposure times. If a long exposure time is selected, snowflakes will appear as lines.
If you like working with flash, you should also try this with snow showers. The result is very dreamy, almost surreal-looking photos. Some snowflakes appear as blurred but very bright circles of different sizes.
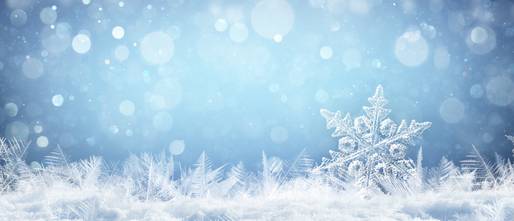
Individual snowflakes - up close with macro photos
If individual snowflakes are to be depicted, it makes sense to choose a dark background. For example, place a dark fleece jacket, gloves or hat in the snowfall. This is important so that the snowflakes or snow crystals stand out from the background.
If it is snowing heavily, the excess flakes should be carefully blown away so that there are not too many snow crystals in one place. This is the only way to capture a small snowflake individually.
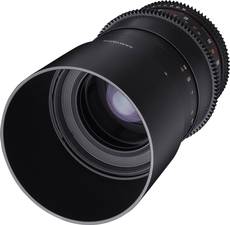
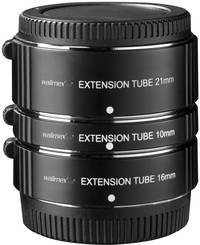
A macro lens should be used to make small things such as snowflakes large (clearly visible). A normal lens with macro rings (also known as extension rings) is also suitable.
The advantage of the macro lens is the very short focusing distance. It is therefore possible to get very close to the object to be photographed with the lens. Due to the short distance and a large image scale, the object can be displayed very large. The use of autofocus is possible.
Extension rings, which are screwed between a normal lens and the camera, also reduce this close-up limit. There are models with and without autofocus.
When taking macro shots of such small and static subjects, working with a tripod is highly recommended. The risk of camera shake decreases rapidly. A tripod allows a faster shutter speed and therefore a lower ISO setting (i.e. less noise in the image).
Good to know: Tip camera settings
- Aperture: Close a little: Aperture 6.3 (5.6 to 8) so that the image is sharp enough.
- Shutter speed: At a focal length of approx. 100 millimeters: 1/200.
- ISO: As low as possible. But a higher ISO value is better than a blurred image.
- White balance: Automatic. But feel free to test different settings yourself.
Focus mode:
- Manual focus: It makes it easier to achieve the minimum distance of the lens in order to be able to image the ice crystals as large as possible.
- Automatic mode: The focus point should be on the snowflake.
Note Camera settings: These are only suggestions. The settings always depend on the camera, lens, light (bright, dark), hand-held photography, photography from a tripod and much more! These settings are only intended to give an initial indication of what could be used.
Photographing frozen soap bubbles
Photographing frozen or freezing soap bubbles can be a fascinating spectacle for the whole family.
However, it can take a while before it really works as intended. That's why you should think carefully beforehand about whether the kids should be involved right from the start.
It is definitely advisable not to involve them in the first few attempts.
Unless you give them a second bottle of bubble solution to keep them occupied during the first “photo attempts”.
In summary, although there are a few more things to consider when photographing in winter than when it's 25 degrees Celsius and sunny, the variety of subjects is greater.
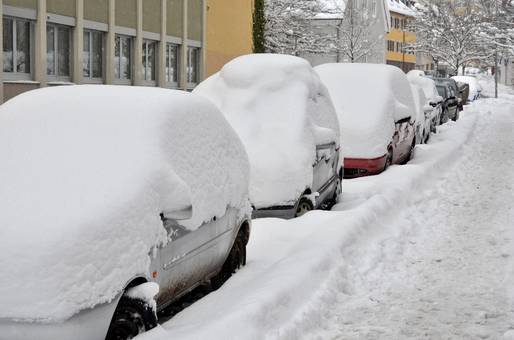
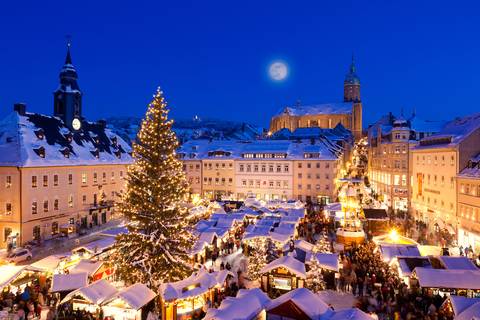
Whether it's the snow-covered Christmas market with all its wonderful lights or a car completely covered in a layer of ice. All photos that can only be taken in winter.
It's also exciting to visit popular and familiar places from the summer in winter. The same places with snow, without snow, with sun, without sun, with fog etc. - often have a completely different effect.
In winter, the sun is low, which makes for wonderful backlit shots. If the photographer has the sun behind him or her, the result is a fascinating interplay of long shadows.
This quickly gives rise to further ideas for motifs.
Winter is also a time of contrasts. In addition to black and white contrasts, color contrasts in particular are an interesting change.
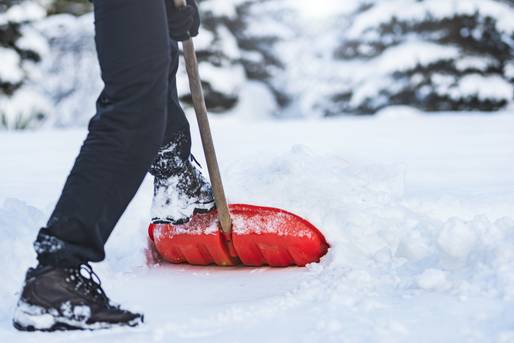
The green fir branch or the red snow shovel in the snowy landscape. Likewise the red fire hydrant in the otherwise gray winter city.
They draw the viewer's attention to the photo (are the eye-catcher).
