Wallpapering during renovation » Tips for wallpapering yourself
Published: 24.11.2023 | Reading time: 8 minutes
This text is machine translated.
Whether redesigning, moving, renovating or refurbishing, many people prefer painting when it comes to the colorful design of walls and ceilings, as it is quick and easy to carry out. They also believe that large-scale, monochrome interior design with paint provides the ideal living and working environment. Other people, on the other hand, prefer clearly visible structures, recurring patterns or impressive murals in their home. In this case, wallpaper is the ideal solution.
Unfortunately, when it comes to wallpapering, many people quickly think of paper strips dripping with paste, which wrinkle when they are stuck on, tear quickly and never stick as they should.
This is why wallpapering work is often carried out by painters or other professionals. However, it is now quite easy to put up new wallpaper if you just follow a few tips.
We would be happy to show you how you can beautify your home or office with a successful change of wallpaper in no time at all. Even if you don't have many years of experience in this area.
When renovating, choosing the right wallpaper is not just about texture and pattern. The material is also important.
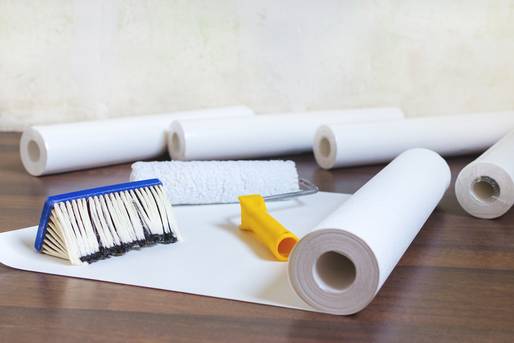
For decades, paper wallpapers or woodchip wallpapers, in which wood fibers were inserted between the layers of paper, were the measure of all things. Some paper wallpapers were still coated with PVC, metal or natural materials such as cork.
As already mentioned at the beginning, paper wallpapers are difficult to work with and even more difficult to remove. For this reason, there is now a large selection of non-woven wallpapers with modern designs and in appealing colors. These wallpapers consist of a mixture of cellulose and textile fibers.
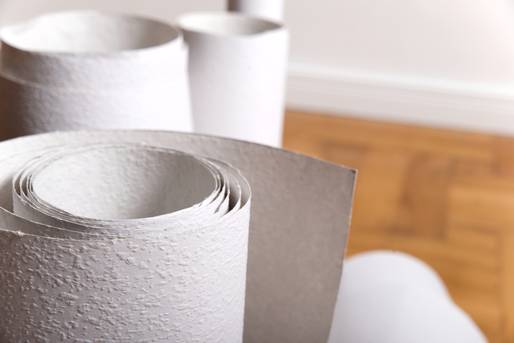
They do not swell on contact with paste and can be easily removed again later. Non-woven wallpapers are also available with a tried-and-tested woodchip look.
Our practical tip: production number
Pay attention to the production number when buying wallpaper. Wallpaper rolls with the same number are from the same batch and do not differ in color, texture or pattern. If you still have several rolls with different numbers, always stick the wallpaper with the same number on one wall.
Once the desired wallpaper has been found, the question of the number of rolls required immediately arises. For this purpose, you should have already determined the size of the area to be wallpapered in advance. If the wallpaper is so-called Euro rolls, the wallpaper on the roll is 53 cm wide and 10.05 m long. The roll therefore covers an area of 5.32 square meters. However, the overhang and the pattern must also be taken into account in the calculation. This is because large patterns often require a larger offset and therefore a longer overhang of the wallpaper strip. If in doubt, a personal and professional consultation in a specialist store can help.
Before the new wallpaper can be stuck to the wall, some preparatory work needs to be done first. As with painting work, the same applies to wallpapering: The better the preparatory work, the easier it is to work and the more perfect the end result of the renovation will look later on.
Create space
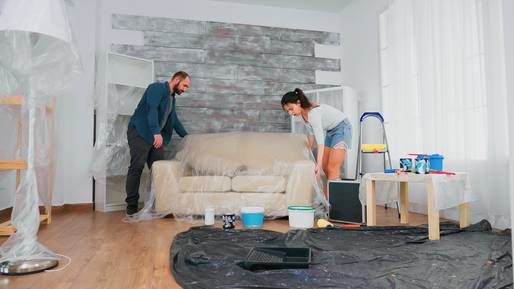
Create space and clear out the room as best you can.
If this is not possible, arrange the furniture so that it interferes as little as possible with wallpapering.
If paper wallpaper is to be applied, you also need to create enough space for a wallpapering table.
Cover the furniture with foil or cloths and the floor with painter's fleece and old newspapers.
Remove old wallpaper
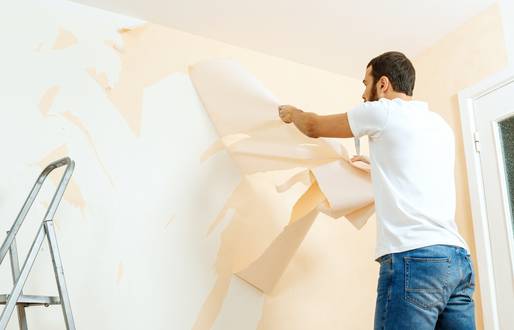
In principle, it is possible to paste over old wallpaper with new wallpaper. However, if the old wallpaper has uneven damaged areas, air pockets in the form of bubbles or large areas of detachment, it should be removed.
To do this, it is perforated with a needle roller and then sprayed with water. Once the water has loosened the wallpaper and the dried paste, the old wallpaper can be removed from the wall in complete strips.
The remains can be easily scraped off the wall with a spatula without damaging the substrate. Although removing old wallpaper is annoying, it should be done thoroughly
Preparing the wall
The substrate for the new wallpaper must be smooth, clean, dry and stable. During renovation work, old wall coverings and woodchip wallpaper should be removed if the new wallpaper is made of thin paper.
Vinyl wallpaper, which is washable and preferably used in the bathroom and kitchen, cannot be wallpapered over and must be removed before applying new wallpaper.
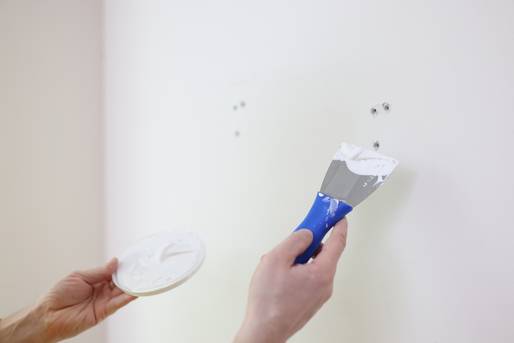
As with painting work, damaged areas in the plaster and any dowel holes that are no longer required must be sealed with fine plaster or plaster and smoothed out. Protruding nails from pictures should be pulled out of the wall.
Priming and switching off the power
Plasterboard walls must be filled, sanded and primed. If plastered walls are very sandy or very absorbent, they must be painted with a suitable wallpaper primer or deep penetrating primer.
Before you start wallpapering, switch off the circuit breaker in the room to disconnect the power supply. Use a voltage tester to test that the power has been successfully switched off. You can then remove the covers from the sockets and light switches. In this context, please also note our instructions in the section on electrical work during renovation.
Our practical tip: Primer paint
As light-colored non-woven wallpapers in particular are highly translucent, a blotchy base can show through unattractively under certain circumstances. To avoid this, the wall should be painted with a well-covering primer before wallpapering. With dark wallpapers, the base color should be tinted accordingly.
Mixing wallpaper paste
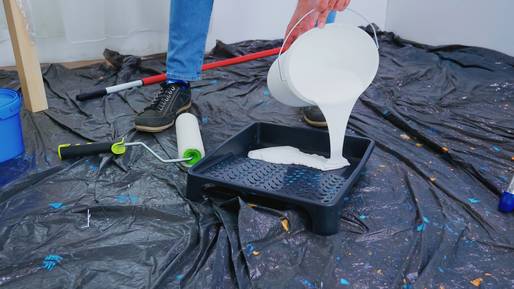
When buying wallpaper, also purchase the right paste for the wallpaper (non-woven or paper). This must be mixed with water according to the manufacturer's instructions. Stir the water in a bucket and allow the paste powder to trickle slowly into the middle of the swirl. This effectively prevents the formation of large lumps in the paste. The mixed paste then needs the resting time specified in the instructions so that it can develop its full adhesive effect.
The exact procedure for wallpapering depends on the wallpaper used. While the various preparatory work can be carried out single-handedly, you should have a helper for wallpapering.
Processing paper wallpapers
With paper wallpapers, the paste is applied to the wallpaper strip. This must first be measured and cut to the required length. You should allow for a 5 to 15 cm overhang at the top and bottom, which also depends on the wallpaper pattern.
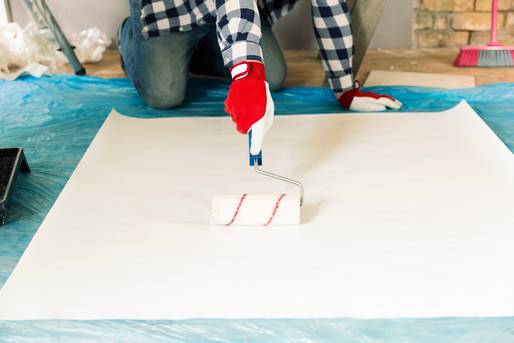
A wallpapering table and a paste roller or ceiling brush are required for pre-pasting the wallpaper strip. The adhesive must be applied evenly and over the entire surface (including the edges and corners).
The ends of the pasted wallpaper strip are then folded inwards towards the middle so that the pasted surfaces lie on top of each other. The entire strip is then folded into a loop and put to one side.
The wallpaper can be applied to the dry wall after the exposure time specified by the manufacturer to ensure optimum moisture penetration. If the substrate is still very absorbent despite pre-treatment, it must also be pre-pasted.
Important!
Never paste several strips at the same time, as otherwise the application times until the wallpaper sticks will vary, causing the wallpaper to swell to a greater or lesser extent. It is better to paste the strips individually and exactly as required. Also, when applying paste to the wall, do not apply too much paste in one go, otherwise the adhesive will dry too much and the wallpaper will not stick properly later.
Processing non-woven wallpaper
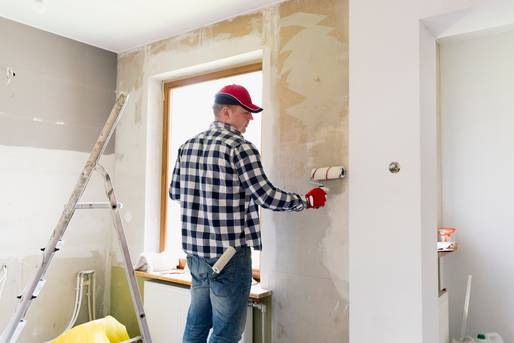
When using non-woven wallpaper, the wall is simply pre-pasted with a roll of paste.
The non-woven wallpaper is then pulled up from the roll lying on the floor and glued directly to the wall without first being cut to size.
In practice, it has proven to be a good idea to place the roll of wallpaper in a precisely fitting cardboard box so that it cannot roll away when the roll is unrolled. This also prevents the wallpaper roll from coming into contact with the pasted wall.
The practical unrolling device can be created quickly with some cardboard and parcel tape.
Gluing on the first sheet
Wallpapering should always be done away from the light. Therefore, start at the brightest point in the room, i.e. the window or balcony door. To ensure that the first strip is glued on absolutely straight, a guide line should be attached to the wall using a spirit level.
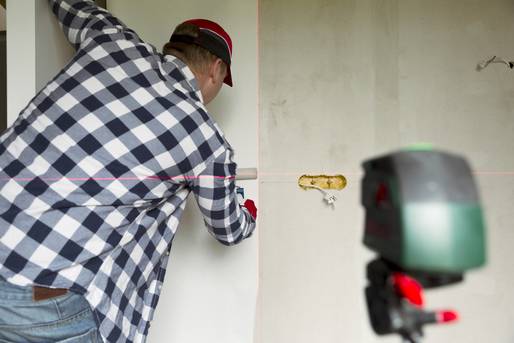
Always use a pencil and only draw a thin line. Alternatively, practical line lasers are also suitable.
Glue the first strip lightly at the top end with a little overhang to the ceiling. Work from top to bottom and align the strip exactly with the guide line.
Remove any air bubbles from the sides of the wallpaper with a wallpapering brush, starting from the center. Use a pressure roller to press the aligned strip of wallpaper firmly onto the wall.
To remove the protrusions at the top and bottom, use a wallpaper rail , edge rail and a cutter knife.
Add more wallpaper panels
The next strip is aligned according to the existing pattern and glued butt-jointed to the previous strip. This means that the strips lie directly next to each other without a gap, but must not overlap.
To ensure that the wallpaper pattern at the top and bottom of the wallpaper panels is not shifted towards each other, paper wallpapers must always have the same application time. This is particularly important when designing with photo wallpaper made of paper.
With non-woven wallpapers that do not swell, the perfect transition in the wallpaper pattern is automatically achieved between the individual panels.
Remove any excess glue with a dry sponge or wipe and press the edges with a seam roller.
Corners, edges and reveals may need to be cut out while the wallpaper is being applied.
Wallpapering wall corners
Wallpapering corners can be a real challenge. Especially if the walls, and therefore the corner, are crooked. In this case, it is advisable to apply the wallpaper strip in such a way that there is an overlap of approx. two centimeters to the other wall in the corner. If the width of the wallpaper would result in a larger overlap, cut the wallpaper strip to the required width. The wallpaper strip adjoining the corner is then glued back on vertically. The narrow overlap of the two strips will not be noticeable in the corner later.
Wallpapering window recesses and door surrounds
The wallpaper strips to the right and left of the window recess should be applied in such a way that they reach the window frame when they are folded inwards. To do this, the wallpaper is cut at the top of the edge of the window recess and at the bottom of the window sill. After folding in, the overhang to the window frame is cut off precisely. The wall above and below the window recess is then wallpapered.
Doors are wallpapered in a similar way, but only from one side. The wallpaper strip is cut above the door and glued on. The strip can then be cut along the side of the door frame.
Wallpapering near radiators
The wallpaper strips are cut to size so that they reach approx. 15 centimetres behind the radiator on all sides. If necessary, the wall behind the radiator can be painted in the base color of the wallpaper. To do this, painters use slim and angled radiator brushes that fit easily between the slats of the radiator.
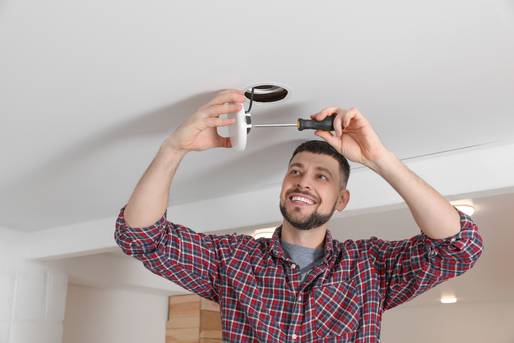
Ceilings are wallpapered in the same way as walls. Existing ceiling lights or pendant lights must be removed beforehand. We have explained exactly what needs to be taken into account in our guide to electrical work.
As you have to work against gravity when wallpapering, it is a good idea to work with a helper to assist you when applying the wallpaper.
To ensure that the wallpaper strips adhere securely to the ceiling, the substrate must be perfectly prepared and a special and much more adhesive ceiling paste should be used. Then moisture will not be a problem when the wallpaper is painted later and the wallpaper will adhere securely to the ceiling.
Once the last strip of wallpaper has been applied, it is a good idea to take another close look at the room. Pay particular attention to any glue residue that has not been wiped off, any air pockets, raised corners or untrimmed protrusions.
The defects discovered can now be easily rectified. The cut-outs in the area of the sockets, light switches and roller blind belt shafts can also be easily made while the wallpaper is still damp.
If everything fits, give the wallpaper enough time to dry. If you air the room excessively immediately after wallpapering to get rid of the glue smell quickly, the wallpaper may dry too quickly, causing the seams to split.
This is also the reason why windows and doors should remain closed during wallpapering.
Poor preparation of the substrate
If the substrate has not been properly prepared, unevenness and stains may appear on the new wallpaper. In the worst case, the new wallpaper will not adhere or will adhere poorly.
Do not check the material
The manufacturer's production number and processing instructions are often disregarded.
Not applying paste correctly
Edges and corners of the wallpaper strips in particular are often coated with too little paste.
Not adhering to the soaking time
The soaking time is often not observed with paper wallpapers. The wallpaper softens on the wall and then wrinkles.
Slanted first strip
The first strip is not applied absolutely straight, which means that the pattern does not run straight to the edge of the ceiling.
Cut the wallpaper before sticking it on
Even if it is tempting, cut-outs for window sills or similar should only be made once the wallpaper is stuck to the wall. Paper wallpapers in particular can tear very easily during cutting.
Drying too quickly
Immediately after wallpapering, wallpaper is often aired or heated, which causes the surface of the wallpaper to dry too quickly. The still damp paste can cause the seams of the strips to burst open or the wallpaper can come away from the wall over a large area.
