Patching the network socket: Connect and wire correctly
Updated: 24.08.2022 | Reading time: 5 minutes
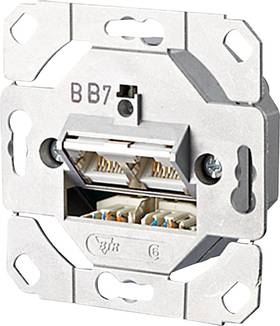
Computers and other network devices in buildings can be connected to a universal connection unit - UAE for short, or also known as a network socket.
The socket enables an interference-free connection and reliable data exchange between the devices. For the UAE to function properly, it must be connected to the network, i.e. correctly wired and connected.
The color coding of the socket and cable helps here, so that the cabling, i.e. the laying of the individual wires, is not a big deal. This guide will show you how to connect a network socket correctly.
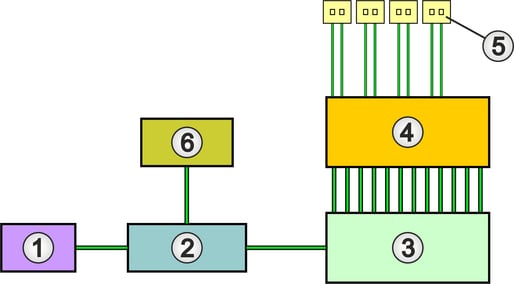
In a classically structured, hard-wired Ethernet network (LAN), network outlets (5) serve as network connections and end points of the network cabling.
The UAEs are connected to a patch panel (4) via twisted pair cables, which usually establishes the connection to the switch (3). The socket is connected to other network sockets in the network segment, the router (2) and any additional network infrastructure components (6) via the switch.
The network cabling is usually star-shaped from the switch via the patch panel to the network socket. The ports assigned to the individual LAN sockets on the patch panel can be patched to the switch in the desired sequence using patch cables.
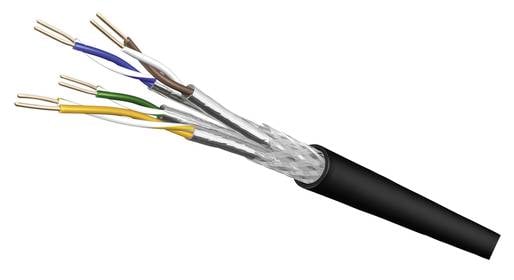
The choice of the right network socket is based on the existing network cabling. For office, commercial and home networking and in the industrial sector, eight-core copper-based installation and network cables of category 7 (Cat. 7) are installed as standard.
The Cat 7 cable supports Gigabit Ethernet and 10 Gigabit Ethernet (10GbE). The category stands for a defined cable configuration on which, among other things, the maximum possible transmission speed and sensitivity to external interference depend. Category 6a (Cat 6a) or 6 (Cat 6) data sockets are suitable for this.
The network socket that matches the cable
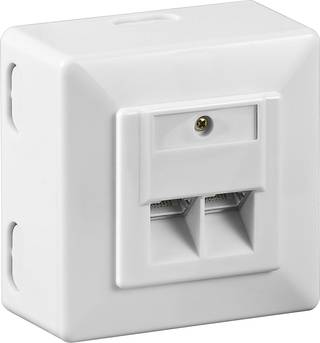
Network sockets are available in different versions. Boxes for surface or flush mounting are common, but they are also available for mounting on the top-hat rail or as modular boxes equipped with Keystone modules.
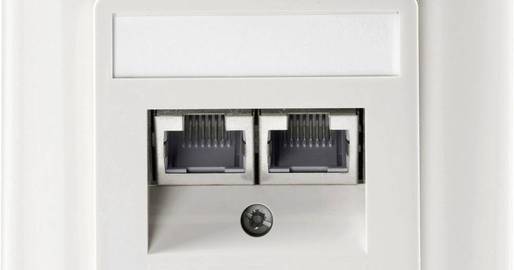
A network socket usually has two places for plugs. It is equipped with two RJ-45 type sockets so that two network cables or a duplex cable can be connected. Each socket is connected with its own cable.
A universal network socket proves to be versatile in terms of its possible applications and practical to use, as it is equally suitable as a surface-mounted and flush-mounted socket. In practice, a combination socket has the advantage that you do not need to decide on a specific installation type in advance. You can surface-mount the box in conjunction with the supplied housing as required or use it without the housing for flush-mounted installation. This gives you flexibility during installation and you only need to stock one box variant.
Professional network installation tools are recommended for fast, efficient and secure cabling of network sockets.
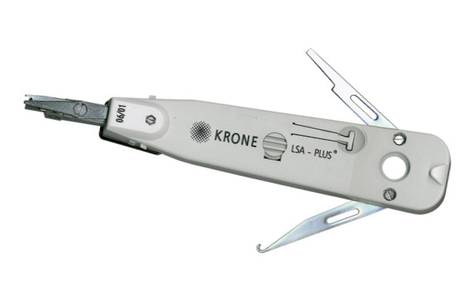
The most important tool is the LSA lay-on tool, also known as a lay-on tool, LSA tool or LSA Plus tool.
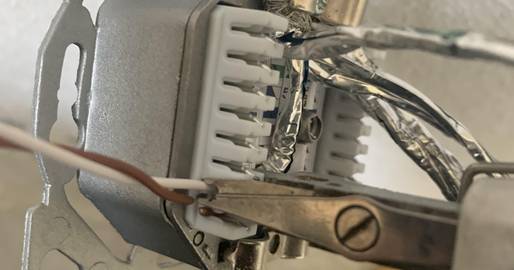
It is used to insert, patch or shoot the wires of the network cable into the socket. The insertion tool has a narrow nose that presses the individual cable strands precisely into the receptacle terminals of the box and shortens protruding cables to the correct length.
You will need a screwdriver to open and install the UAE. Use a cable cutter or side cutter to shorten the network cable after inserting it into the socket. You will also need a stripping tool or cutter knife.
Installing and wiring a surface-mounted or flush-mounted box only requires a little know-how and a few work steps.
1. Lay the network cable
Depending on the local conditions, the network installation cables are laid in cable ducts or flush-mounted in empty conduits.
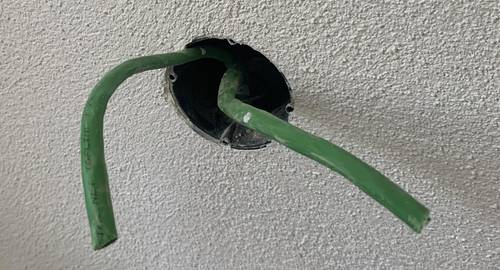
If a surface-mounted box is required, cut-outs must be made in the plastic housing. Allow the cable ends to protrude far enough from the junction box as shown in the illustration.
2. Remove cable sheath
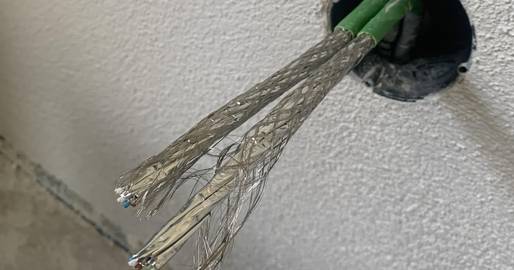
To remove the cable sheath, use a stripping tool or remove the sheath with a knife.
When using a cable knife or cutter, take care not to cut too deeply. The braided wire shielding and the cores should remain intact.
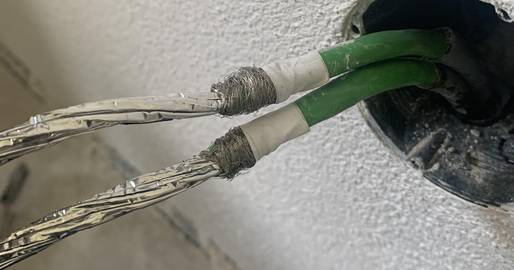
3. Turn the shielding braid inside out
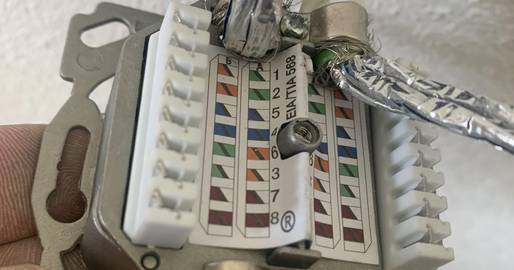
4. Connect the network cable to the socket
5. Patch wires
6. Strip wire pairs
7. Lay or connect the wires
8. Complete the connection
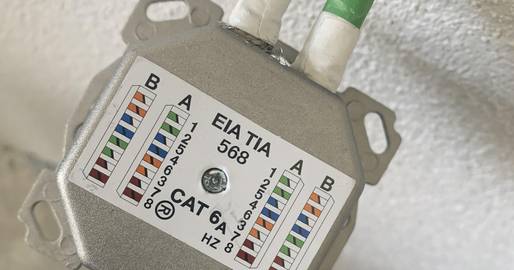
9. Close the network socket
10. Insert network socket
Finally, write the number or name of the box in the labeling insert of the viewing window. The labeling simplifies assignment when subsequently patching the UAE via patch cables on the patch panel.
Your new network socket is ready for use. It is best to check that the wires are connected correctly with a short test.
For the check, use a LAN cable tester to check and document the perfect functionality, speed and reliability.
Now you can connect the patch cables and push the plugs of the network cables into the sockets of the box.
Note:
If you would like to assemble the patch cable required for the installation yourself, you should definitely observe the following paragraph.
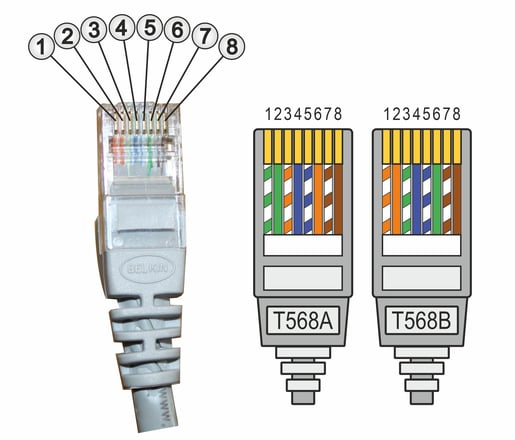
Just as when laying the network cables in the network socket, the RJ45 plug assignment can be done according to the TIA 568A or TIA 568B standard. At least if no pre-assembled patch cables are to be used. In this case, RJ-45 plugs must be crimped. The steps required to crimp an RJ45 connector depend on the design of the connector used. You can find some very good instructions on the various video portals.
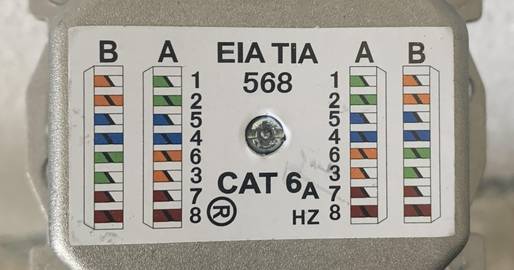
Which wire must be assigned to which pin of the connector for the respective standard can be seen in the following table or the attached diagram.
Contact assignment of RJ45 plugs
The assignment of the RJ-45 plug is identical at both ends of the patch cable, resulting in 1:1 cabling (straight-through cable). Crossover cabling, for example to connect two routers, switches or PCs, is not required. Many of the connected devices now support the Auto-MDIX function and therefore automatically recognize on which lines or plug contacts data is being sent and received.
